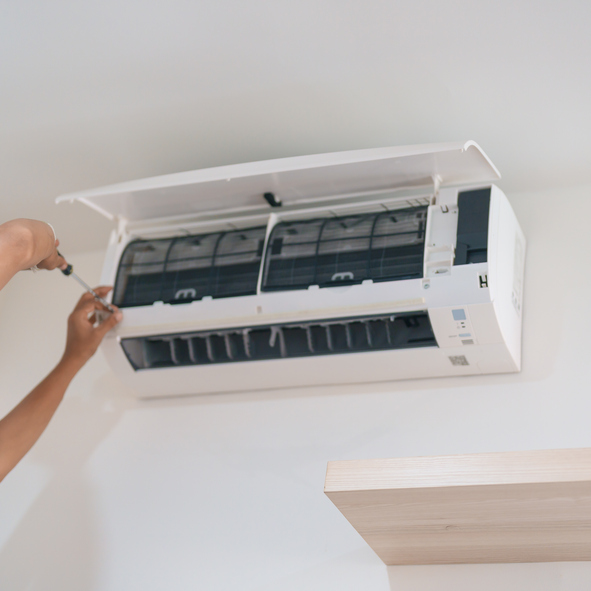
Replacing your air conditioning system can be a significant investment, and proper preparation is key to a smooth transition. This comprehensive checklist will guide you through each step to ensure that your home is ready for the AC replacement, maximizing comfort and efficiency.
1. Evaluate Your Current System
Before you proceed, it’s crucial to evaluate your existing system. Assess how well your current air conditioner performs and identify any issues you’ve experienced, such as inadequate cooling, frequent breakdowns, or high energy bills. Understanding these problems can help you choose a new system that addresses these shortcomings. Additionally, review the age of your current system, as older units may be less efficient and more prone to failure. This evaluation will provide valuable insights into what you need from your new air conditioning system, ensuring that it meets your specific requirements and expectations.
2. Determine Your Cooling Needs
Accurately determining your home’s cooling needs is essential for selecting the right air conditioning system. This involves calculating the required cooling capacity based on factors like the size of your home, insulation quality, window placement, and local climate. A professional HVAC technician can perform a load calculation, which takes all these variables into account to determine the ideal size of the new AC unit. Choosing the correct size is crucial; an undersized system will struggle to cool your home effectively, while an oversized system may lead to energy waste and inconsistent temperatures. Proper sizing ensures optimal comfort, efficiency, and system longevity.
3. Research and Select a New System
With many air conditioning systems available, it’s important to research and select one that best fits your needs. Start by exploring different types of systems, such as central AC, ductless mini-splits, or heat pumps, and their respective benefits. Focus on models with high Seasonal Energy Efficiency Ratio (SEER) ratings, as these offer better energy efficiency and lower operating costs. Research various brands and read customer reviews to gauge reliability and performance. Additionally, consult with HVAC professionals to get recommendations based on your specific requirements and budget. Making an informed choice will help you invest in a system that provides long-term comfort and efficiency.
4. Prepare Your Home for Installation
Proper preparation of your home can significantly ease the installation process and ensure that everything goes smoothly. Start by clearing the area around your current AC unit to provide unobstructed access for the installation team. This includes removing any outdoor furniture, gardening tools, or other obstacles that could impede their work. Inside your home, clear any furniture, decorations, or items from the installation site to create a safe and accessible workspace. If there are any potential issues or concerns about access or space, discuss them with your contractor beforehand. This preparation will help facilitate a more efficient installation and reduce the likelihood of delays or complications.
5. Verify Electrical and Ductwork Compatibility
Ensuring that your home’s electrical system and ductwork are compatible with the new AC unit is a crucial step in the preparation process. Verify that your electrical panel can handle the additional load of the new system and that all wiring meets current code requirements. Inspect the ductwork for any signs of leaks, damage, or inadequate insulation. Properly sealed and well-maintained ducts are essential for efficient airflow and system performance. Address any issues with your ductwork before installation to avoid compromising the efficiency and effectiveness of your new air conditioning system. A thorough check of these components will help ensure a smooth and successful installation.
6. Schedule Professional Installation
Scheduling professional installation is key to ensuring that your new air conditioning system is set up correctly and safely. Choose a reputable HVAC contractor who is licensed, insured, and experienced in installing the type of system you’ve selected. A professional installation team will have the skills and expertise to handle all aspects of the installation, including electrical connections, refrigerant lines, and system calibration. Discuss the installation schedule, any necessary preparations, and the expected duration of the work with your contractor. A professional installation not only ensures optimal system performance but also helps maintain any warranties and ensures compliance with local building codes.
7. Review Installation Details
Before the installation begins, review all the details with your contractor to ensure that you are fully informed and prepared. Confirm the scheduled installation date and time, and discuss any specific requirements or preferences you have regarding the placement of the new unit. Address any potential issues, such as access constraints or modifications needed for your home, to avoid surprises on the day of installation. Reviewing these details in advance helps ensure that the installation process runs smoothly and that the final setup meets your expectations. Clear communication with your contractor is essential for a successful and hassle-free installation.
8. Plan for Post-Installation Maintenance
After your new AC system is installed, planning for regular maintenance is essential to ensure its long-term efficiency and performance. Schedule routine inspections with an HVAC professional to check for any potential issues and to perform necessary maintenance tasks, such as cleaning filters, checking refrigerant levels, and inspecting electrical components. Set reminders for filter replacements and system cleanings to keep your AC unit running smoothly. Regular maintenance helps prevent breakdowns, extends the lifespan of your system, and maintains optimal performance. By planning for ongoing care, you can enjoy the benefits of your new AC system for years to come.
Preparing your home for an AC replacement involves several important steps, from evaluating your current system to planning for post-installation maintenance. By following this comprehensive checklist, you can ensure a seamless replacement process and enjoy the benefits of a new, efficient cooling system.
Ready to replace your air conditioning system? Contact our team of experts at ClassicABC Heating & Air today to schedule a consultation and ensure a hassle-free installation process. Let us help you find the perfect system for your home and keep it running efficiently for years to come.

